
RV Utility Pedestal Placement: What to Confirm Before Installation
RV utility pedestal placement affects how guests connect their vehicles, how staff maintain equipment and how underground services reach each pitch.
A pedestal can have the correct sockets and water connections but still be inconvenient if it is positioned behind an awning, beside a vehicle door or too far from the connection points.
Before preparing foundations or installing underground services, review the pedestal location together with the pitch layout and the selected product drawings.
This guide explains the main placement decisions to confirm before installation.
1. Start with the RV Parking Direction
Begin with the position of the vehicle rather than the position of the pedestal.
Will guests reverse into the pitch, drive through it or park alongside a landscaped boundary? The answer affects where utility connections can be reached conveniently.
Mark the following on your site plan:
- Vehicle entry and exit direction.
- Expected parking position.
- Likely power and water connection locations.
- Vehicle doors and outdoor seating areas.
- Pedestrian access around the pitch.
Avoid assuming that every RV has its connections in exactly the same place. Review the vehicle types your campground expects to accommodate.
For mixed vehicle sizes, check whether the proposed pedestal location remains accessible when a shorter or longer vehicle uses the pitch.
2. Check the Complete Cable and Hose Routes
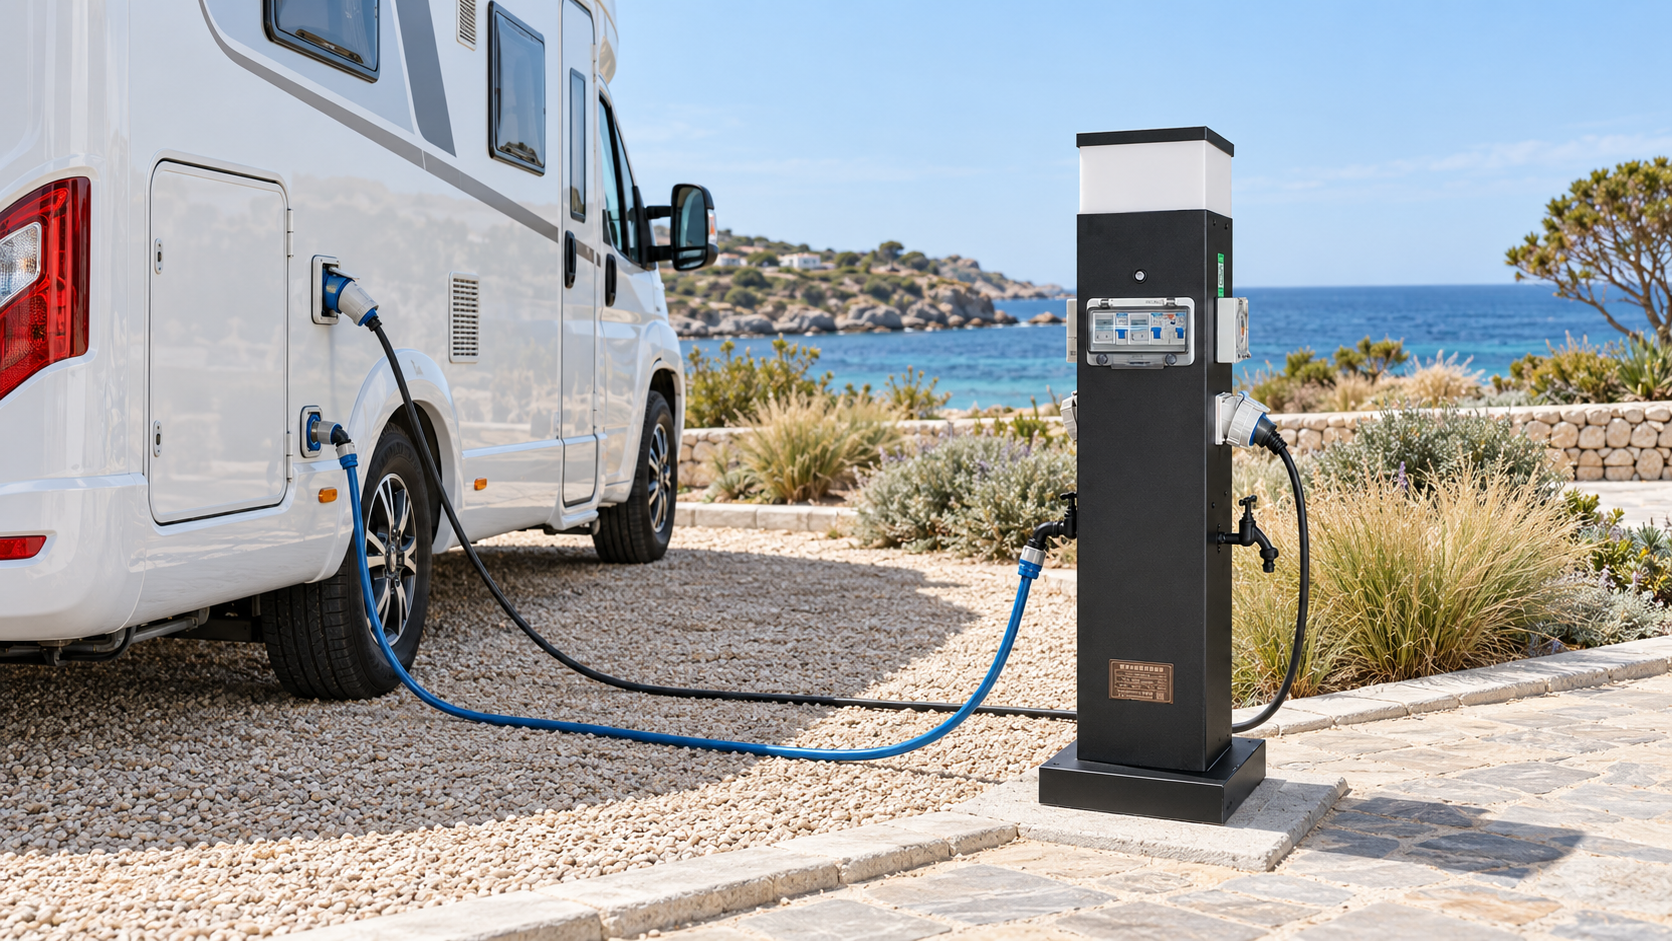
The distance between the pedestal and the RV is only part of the placement decision. The route between them also matters.
A short connection can still create an obstacle if it crosses a walkway or passes through an outdoor dining area.
Plan cable and hose routes that keep connections within the intended service area and away from vehicle movement.
Before approving the location, ask:
- Can guests connect without crossing the main access path?
- Will the cable or hose be pulled tight?
- Could a parked vehicle run over the connections?
- Will the connections interfere with neighboring pitches?
- Can staff maintain the surrounding ground without moving connected equipment?
Do not rely on guests bringing longer extension leads or additional hoses to compensate for an unsuitable pedestal location.
3. Confirm Which Direction the Connections Should Face
Pedestal orientation should be reviewed alongside its location.
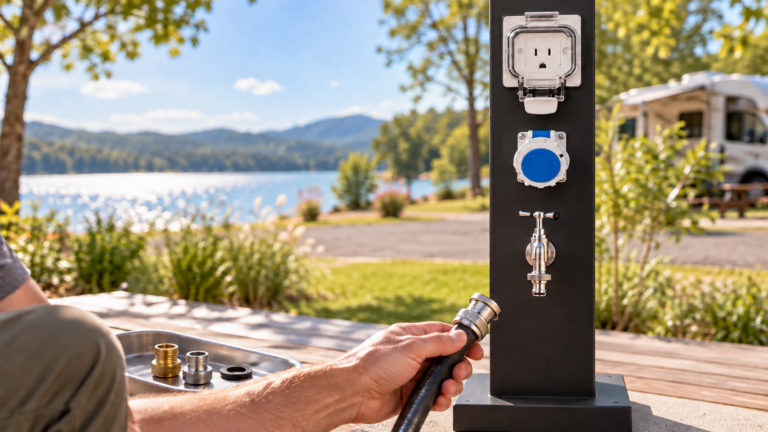
A unit with outlets on one face may need a different position from a unit with connections on opposite sides. Water taps, socket covers and inspection panels also need usable space.
Check that:
- Socket covers can open fully.
- Plugs can be inserted and removed comfortably.
- Large plug bodies fit without obstructing nearby components.
- Tap handles can be operated.
- Hose connectors can be attached without excessive bending.
- Controls and labels remain visible.
For a shared pedestal, review access from both pitches. A position that works well for one vehicle may be inconvenient for the other.
Confirm the required component arrangement before production, especially when ordering customized socket quantities or tap positions.
For paired pitches, read our guide to single vs shared RV utility pedestals.
4. Review the Finished Ground Level and Drainage
The finished ground level should be established before pedestal mounting details are finalized.
A location that appears suitable during early construction may become a low point after paving, landscaping or road works are completed.
Review the area for:
- Surface-water runoff.
- Standing water after rainfall.
- Irrigation spray.
- Water released during hose connection and disconnection.
- Changes in ground level around the foundation.
- Seasonal conditions, including freezing where relevant.
An enclosure’s IP rating does not make every installation location suitable. Drainage and the conditions around the installed assembly still need attention.
Plan the foundation and surrounding finish so that the pedestal remains stable and accessible under the expected site conditions.
5. Match the Foundation to the Selected Pedestal
Confirm the mounting method for the exact model being ordered.
RV pedestals are available with different mounting arrangements, including direct-bury and pad-mounted designs. A foundation prepared for one arrangement may not suit another.
Request the selected product’s dimensional and mounting drawings before setting out fixing points.
Check:
- Overall pedestal dimensions.
- Base footprint.
- Mounting-hole positions.
- Required fixing details.
- Cable and water entry locations.
- Inspection-panel access.
- Orientation relative to the pitch.
Do not estimate fixing positions from a product photograph or use the overall enclosure width as the mounting-hole spacing.
The foundation and anchoring details should be confirmed for the product, ground conditions and project requirements.
Explore our RV power and water pedestals to compare available configurations.
6. Coordinate Underground Electrical and Water Services
Pedestal placement should be agreed before underground services are completed.
If conduits or water pipes emerge in the wrong position, installers may need to modify the foundation or introduce awkward connections.
Coordinate the pedestal drawing with the site services plan. Confirm where each service enters the unit and how installers will reach the connection points.
Your project team should establish the applicable requirements for electrical capacity, cable sizing, earthing, protective devices, water supply and service separation.
Electrical installation should follow the selected equipment instructions and be carried out by qualified personnel. Manufacturer installation guidance also emphasizes qualified electrical installation.
Avoid treating one generic trench or foundation detail as suitable for every campground and destination country.
7. Leave Access for Maintenance and Vehicle Movement
A pedestal needs to remain accessible after the pitch is occupied.
Check whether staff can open the inspection panel, operate isolation controls and inspect connections without moving a vehicle or dismantling a guest’s outdoor setup.
Also review the proposed position against:
- Reversing and turning movements.
- Vehicle overhang.
- Service roads.
- Grass-cutting and cleaning equipment.
- Future landscaping.
- Access to underground service points.
Where a vehicle-impact risk is identified, the project designer should assess whether protective measures are needed and how they affect access.
Any protective arrangement should preserve the space required to use and maintain the pedestal.
8. Check One Representative Pitch Before Repeating the Layout
Before repeating a pedestal position across the whole campground, review one representative pitch at full scale.
Mark the expected vehicle outline and proposed pedestal footprint on the ground. Then check the connection routes, access paths and inspection-panel opening space.
Where a sample is available, use it to review the component arrangement and mounting details.
A simple layout check can reveal practical issues that are difficult to see on a small drawing, such as a socket facing a hedge or a tap positioned behind a parking barrier.
Once the arrangement has been reviewed, record the agreed position and orientation for the installation team.
Review our sample inspection checklist before bulk ordering when assessing a trial unit.
Pre-Installation Checklist
| Item to confirm | Information needed |
|---|---|
| Pitch arrangement | Parking direction, vehicle position and neighboring pitches |
| Pedestal configuration | Socket types, quantities, taps and optional equipment |
| Connection routes | Cable and hose paths to the vehicle |
| Orientation | Direction of sockets, taps and inspection panels |
| Ground conditions | Finished levels, drainage and foundation requirements |
| Mounting details | Base dimensions, fixing positions and mounting method |
| Underground services | Electrical and water entry positions |
| Maintenance access | Space to open panels and reach controls |
| Identification | Pitch numbers and connection labels |
Custom RV Power and Water Pedestals from GuaiChong
Zhejiang GuaiChong Intelligent Technology Co., Ltd. manufactures outdoor power and water pedestals for RV parks, campgrounds and other outdoor projects.
Depending on the selected model, configuration options include:
- Socket types for different destination markets.
- Customized socket quantities and positions.
- Water connections with 1/2-inch or 3/4-inch options.
- RCCBs and circuit breakers.
- Optional lighting with button, light-sensor, motion-sensor or Wi-Fi control.
- 304 stainless steel construction and different enclosure finishes.
When specifying water connections, confirm the connection position, size and thread standard. For IP66 requirements, confirm the complete selected assembly and the intended operating condition.
Share your pitch plan, installation surface and configuration requirements so our team can review suitable product options and provide the relevant drawings.
Planning your campground utility layout? Send GuaiChong your site drawing and pedestal requirements to request product information and a quotation.